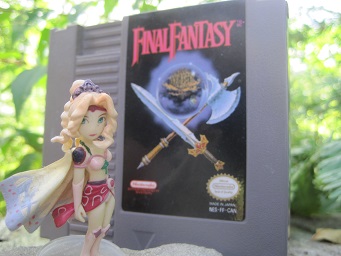
I believe that, for all of its bugs, the NES version of Final Fantasy is the definitive version of the game. Sure, it’s archaic and half of it doesn’t work like intended. But it’s still a smartly designed game that can bite you if you’re not paying attention.
One of the best examples of the smart design is that the game can be completed by any party of adventurers – even solo efforts. One of the oldest challenges for Final Fantasy is to clear it with a party of that most squishable of classes – The White Mage.
Now, an important stipulation has to be mentioned here: I am playing as four White Mages, not Wizards. By limiting myself to the base class only I lose some great spells – most importantly EXIT, FADE, CUR4, and WALL. I can also equip less gear. It sounds daunting, but it’s really not that bad.
The Quest
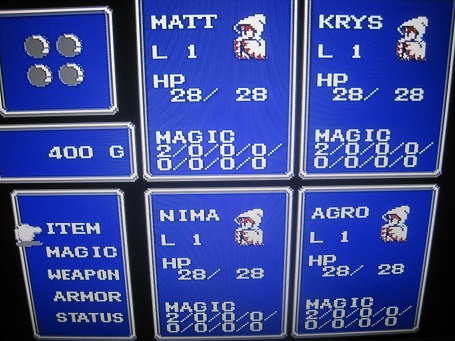
-Starting out I leveled up to 3 around Corneria. I equipped my Mages with the local gear and purchased CURE and RUSE.
-Headed north to the Temple of Fiends and defeated Garland no problem. Just a few RUSEs and then we wailed on him. With Garland knocked down, I returned to the Temple and took the treasures.
-Heading to Pravoka was a bit of a challenge, I ran dry of spell charges then entered encounters that were just beyond my depth. I made it there though, and then leveled to 4 outside the town.
-Fought the Pirates at Level 4 and cleaned their collective clocks. No sweat! Took the ship and sailed to Elfland.
-Fought Primarily Ogres and Creeps around Elfland until my level hit ten. The money I accrued went towards Copper Bracelets, Cure 2, Heal. Also: 30 HEAL potions and 30 PURE potions. This was by far the most tedious part of the quest. I was barely strong enough to take out a few encounters before I had to rest. I picked at this over a couple of days.
-I skipped the PURE spell for the time being. I would eventually get it later for convenience when I had money to burn, but it’s more economical just to buy some potions.
-At level 10 I attempted the Marsh Cave. I ran from most threats – used a PURE when I was poisoned. I skipped much of the treasure except what was en route and sellable. RUSEd against the Wizards, and claimed the CROWN after a long fight of barely denting them with my hammers. Upon leaving the Marsh Cave, I’d only used 5 PUREs and managed it in one try, so that was cool.
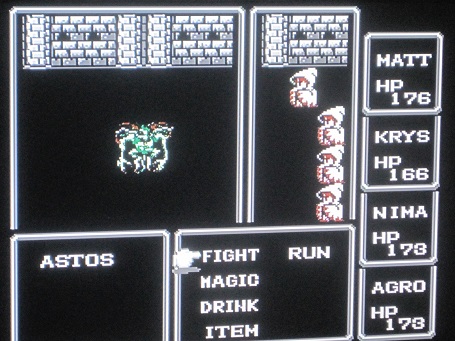
-After restoring my spell points in Elfland, I headed to the Northwest Castle. It took a few tries to beat ASTOS since I wanted MUTE to work in the first turn. ASTOS’ first action seems to always be RUB, so I didn’t want a big schism in my White Mages’ experience this early. Once I MUTEd ASTOS, I RUSEd with everyone three times for good measure. My hammers only did one damage, so I had to hope for crits. A long war of attrition.
-I started raiding all of the locked rooms, including the Silver Bracelet in the Marsh Cave. I got enough money from selling the various special weapons that I could replenish my consumables and buy everyone HRM2.
-I returned to the Northwest Castle and leveled on the Mummies in the treasure room – they are a forced encounter tile. HARM and HRM2 wreck them so I got a ton of experience and money every time I went there. I accidentally triggered a battle with six Images on the way out and in my exhausted state AGRO died and fell out of experience sync. I just kept trucking though because it’s not as dire now that the game has really turned in my favour – I realized it would just be the matter of a battle or two. We’ve got this.
-I reached Level 15, with nearly one hundred thousand gold. It was time to head to the Dwarf Cave. I looted the joint and broke open the way to Melmond.
-Still at level 15, I conquered the Earth Cave. Beforehand I traveled to Crescent Lake and bought some Silver Hammers, then Silver Bracelets in Melmond. Earths proved too much to handle so I was very selective about chests. The Vampire dropped quickly.
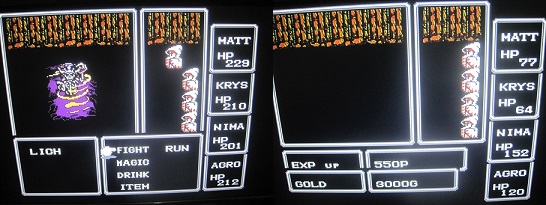
-Lich dropped in a single round when I fought him. I made the rank amateur error of not topping off my HP before engaging him, and his ICE2 hit hard. But I toasted him in short order. HRM3, son – MATT struck the first and most fierce blow at ~230DMG, nearly a full strength blast of it.
-From Melmond I headed back to Crescent Lake and grabbed the Canoe. I skipped Gurgu Volcano and went straight to the Castle of Ordeals. I conquered it – grabbed the Gold Bracelet, Zeus Gauntlet (casts LIT2), and Heal Staff (casts HEAL). The Zombie Dragon went out like a sucker to HRM3, and I claimed the TAIL. But I wouldn’t be using it – no class changes in this run.
-From Ordeals I traveled to the infamous Ice Cave. I expected this to be rough but it wasn’t too bad. I didn’t run into any giants or dragons, and the Mages I had to fight could not manage to RUB me. I managed to run from Sorcerers every time, so they couldn’t wipe me out. When facing the EYE, I managed to silence it in the first round and then it was a simple matter of destroying it. Obtained the FLOATER and fled this icy tomb.

-I immediately took the FLOATER and used it to raise the AIRSHIP. Now I was able to fly!
-With my airship I headed for the Waterfall near Onrac. I managed to loot this dungeon of its Wizard Staff (cast CONF), Ribbon, and Defense (casts RUSE). I didn’t run into any Gas Dragons on this run!
-Bought the BOTTLE, then flew to Gaia and bought some PRORINGS and obtained the OXYALE.
-Next, I cleaned out the Sea Shrine in a couple of runs. Most important to my quest were the Opal Ring, a Ribbon, the Mage Staff (casts FIR2), and two Light Axes (cast HRM2). I leveled up to 19 cleaning this dungeon out, Managed to buy some more spells – INV2 and a couple of HEL3 with my spoils. Bought SOFT for one mage “just in case.” Will probably get everyone SOFT eventually – most of the really good spells at high levels are for Wizards and not Mages. And other choices like ARUB make no sense when I’m packing PRORINGs.
-I ultimately decided to raid the Air dungeons next. First, I raided every treasure in the Mirage Tower – selling the weapons and armor but keeping the Thor’s Hammer (casts LIT2) and Healing Helm (casts HEAL) for myself. I then then decided to grab some treasures in the Sky Castle next. I went right for the Black and White Shirts (casts ICE2 and INV2 respectively), the ADAMANT (just for the hell of it) and then the third and final Ribbon. With this gear I left the Castle. Since I do not have EXIT I had to fight the Blue Dragon on both the way in and the way out. NIMA/AGRO died on the first encounter and NIMA died on the second. Sorry, bro. We hit level 20 around this point.
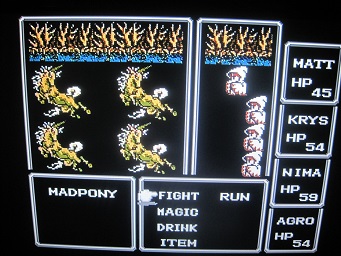
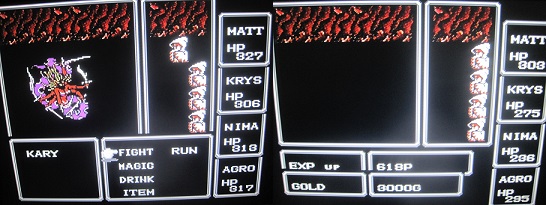
-Now equipped with a full arsenal I delved into Gurgu Volcano and took on Kary. She resisted most of my attacks, actually. But I boosted everyone’s evasion and toughed it out with no casualties.
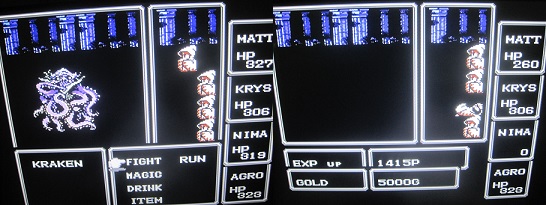
-I returned to Onrac, and made sure to buy HEL3 for everyone who didn’t have it as a “just in case” contingency. I headed back into the Sea Shrine and took out Kraken. He got the initiative and struck with a physical attack for massive damage, so one Mage didn’t make it out in one piece. I swallow my pride and finish the fight – our EXP are already out of sync anyhow and the Sea Shrine is too lengthy to get overly anal about character death.
-I decided that I was maybe in need of a few levels so I raised my level to 25 by repeatedly fighting the EYE in the Ice Cave. I picked up some more spells. FOG2, AMUT, AICE, ALIT. I have my reasons. The core reason being one mage will never have a Ribbon.
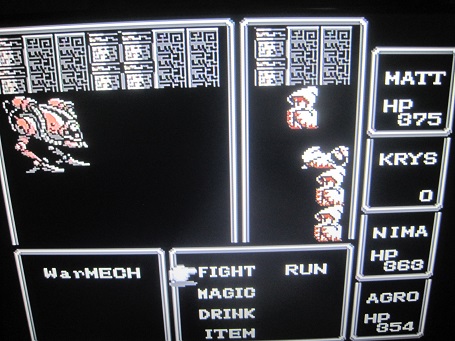
-And then I took on the Sky Castle for real. It was going great until WarMECH got the drop on me and wiped my party out.
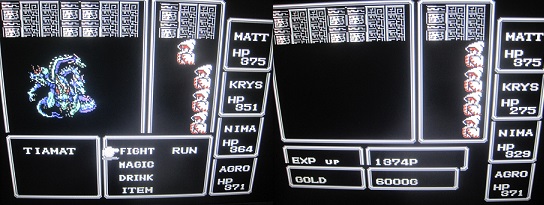
-And THEN I took on the Sky Castle for real REAL. I made it to Tiamat and in the first round I got off a few INV2 (one via White Shirt), AICE and ALIT. The “A” spells protected my unribboned Mage from THUNDER and BLIZZARD and I just healed after her fire attack. I then attacked with my spell items every round doing miserable damage (usually 15-25 per hit) as one Mage used the Bane Sword. Eventually Bane killed Tiamat before she could lose all of her HP from the onslaught of tiny hits.
-I knew the Temple of Fiends would be rough so I returned to the EYE and over a few sessions I reach Level 35.
-I attempted the Temple of Fiends at Level 35 and made short work of the various floors. Chaos was a different story altogether, however. I was able to do some serious damage with the Masamune and kept my party afloat with their collective Healing prowess. However, I got some bad rolls with the Masamune and just couldn’t do enough damage and ran out of curative spell charges – especially when NIMA fell to CRACK. Anyone that has fought Chaos on the NES knows that he follows a spell order – and one of the spells in that order is CUR4 which completely restores the HP of the recipient. I saw CUR4 come up twice. I held out long but his spell casting accelerated and after that second CUR4 my party was just too bedraggled to finish it.
-At this point I decided to grind some more. But I read a Game Mechanics FAQ first to determine how the number of hits a weapon is capable of is determined. Using the information from the guide and the Masamune +50hit% I determined a White Mage should get 4 hits with the Masamune at Level 42. Which despite being the answer to life, the universe, and everything meant more tedious Eye grinding.
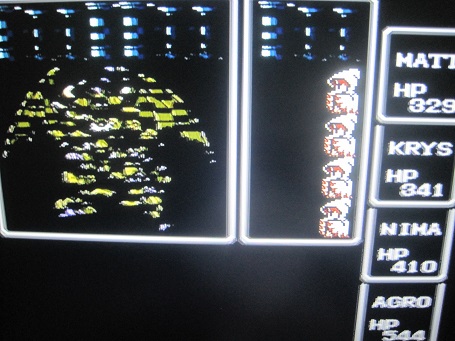
-I partook in a few sessions of grinding… but the game glitched at one point and my heart just sank. This would be the WORST time to lose my data, ha ha. After a few attempts I got the game working again -data intact on the cartridge- and finished the grind and decided to have a go at The Temple Of Fiends one more time! Level 42, baby.
-Lich 2 got a full battery of HRM3 on the first round, and he responded with a physical blow. I thought I could destroy him before he NUKEd me but nope – he got the initiative in Round 2 and cast NUKE.
-Kary’s second form was easy. FOG2 and the White Shirt and then just used my free casting items until she died. I managed to confuse her with the Wizard Staff as well, so she wasted quite a few turns attacking herself.
-Kraken 2 was rough. Not so much hard as he hit hard and I didn’t want to waste curatives. FOG2, INV2 via the White shirt, and ALIT. Then my free casting did wonders.
-Picked up the Masamune and figured that would be good enough to slaughter Tiamat 2. I was wrong, it rolled some abysmal numbers most of the time. So NIMA fell to BANE, but the rest pulled through after a fight that was longer than it should have been.
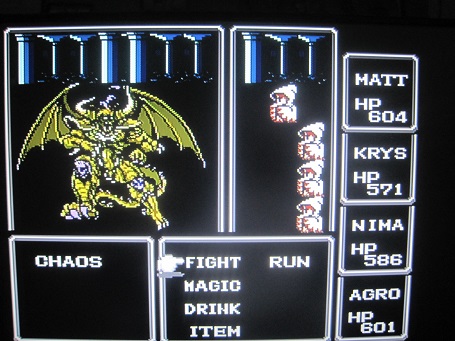
-I took Chaos on again and even though I was a much higher level this still felt like a bit of a struggle. The Chaos fight partly depends on luck because if he manages to SLO2 your Masamune mage then your damage potential is ruined. And if he keeps using his spells instead of his physical attack and special abilities then you run the risk of him casting CUR4 again and ruining your efforts.
This time Chaos decided to concentrate on his abilities. He actually attacked me physically a few times and used the likes of Inferno, Tornado, and Swirl. Now – these attacks are actually much stronger than many of his spells so I was constantly using HEL3 and hoping my turns spent not damaging him wouldn’t bite me in the ass and he’d CUR4 at 10HP remaining or something.
I did get worried when his spell order got back around to the start again – but my one constant in this battle was that AGRO attacked every turn with the Masamune after the first CUR4 was cast. NIMA used the HEAL staff every turn, and MATT and KRYS generally used their casting item when health was high and HEL3 when health was low. There is a definite strategy to fighting Chaos in spite of the random element, and I was on the edge of my seat during this battle. But I prevailed with no deaths and the time loop was sundered!
The Mages At Journey’s End
So, what were the stats, abilities, hopes and dreams of these Mages at the end of the quest? These veritable bastions of pure herculean strength that dared challenge the forces of evil? The shining avatars of Order that unraveled the swirling Chaos?
MATT:
HP: 604
STR: 28
AGL: 27
INT: 47
VIT: 36
LUCK: 31
WEAPONS: Silver Hammer(E)/Light Axe/Wizard Staff
ARMOR: Opal Bracelet(E)/Ribbon(E)/ProRing(E)/Zeus Gauntlet
INFO: The valiant meat shield! With the highest vitality MATT had the highest HP count throughout most of the game. His job was to RUSE at the start of battle and soak damage. He used the Wizard Staff very situationly and mostly attacked with the Zeus Gauntlet. And was just a rockin’ dude in general! (Died 1 time not counting party wipes)
KRYS:
HP: 571
STR: 27
AGL: 26
INT: 50
VIT: 35
LUCK: 33
WEAPONS: Silver Hammer(E)/Light Axe/Bane Sword
ARMOR: Gold Bracelet (E)/Ribbon(E)/ProRing(E)/Black Shirt
INFO: She had the highest STR. score for the early game and was a core attacker early on. Strength lagged late game though so she was relegated to wielding the Black Shirt and Bane Sword – the poison smoke of which proved invaluable at times. KRYS had the highest Luck score of the group – a whole 6 points ahead at one time. Maybe she really wanted to be a THIEF? (Died 0 times not counting party wipes)
NIMA:
HP: 586
STR: 30
AGL: 27
INT: 47
VIT: 32
LUCK: 28
WEAPONS: Silver Hammer(E)/Thor Hammer/Heal Staff
ARMOR: Gold Bracelet(E)/ProRing(E)/ProCape(E)/White Shirt
INFO: Nima was a contender for the Masamune – a prime candidate until AGRO edged him out by one point. Wielding the White Shirt and Heal Staff he took a support role – the role of Early Buffer. The White Shirt allowed spell points to be better spent elsewhere and the Heal Staff prolonged our lifespans… 20HP at a time… He was vulnerable without a Ribbon, but proved his mettle by surviving two CRACKs in the final Chaos bout. (Died 4 times not counting party wipes… sorry, bro!)
AGRO:
HP: 601
STR: 31
AGL: 25
INT: 47
VIT: 33
LUCK: 27
WEAPONS: Silver Hammer/Mage Staff/Defense/Masamune(E)
ARMOR: Gold Bracelet(E)/Ribbon(E)/ProRing(E)/ProCape(E)
INFO: Ah now here she is – the saviour of our kind. AGRO proved she was worthy of wielding the Masamune by being one STR. point higher than NIMA. That beefy 31 STR. would prove to be the downfall of Chaos. Until that point, she was a secondary healer with the Heal Helmet (ditched in favour of better defense) and the caster of FIR2 via the Mage Staff. (Died 2 times not counting party wipes)
The Quest’s End
This whole challenge took me roughly two weeks to complete. It had periods of accelerated progress and slow times of grinding – only tedious towards the beginning and end of the game. But as a whole it was a really fun endeavour and I’m happy to have completed it.
Though I had beaten Final Fantasy a number of times before this, I have a new appreciation for the mechanics and design. Sure, some things are completely broken. But the game still manages to capture my imagination all of these years later and prove that it’s well made by sheer virtue of being accessible to any party – regardless of if they are going to struggle or not.
I feel confident that I could complete another challenge run – perhaps a solo – at some point. That’s something for the far future though I can’t help but theorize how I would handle certain situations differently.
People sometimes besmirch challenge runs as artificial difficulty and I suppose they are correct – you are making the game rougher than it was intended to be. But then that’s the point of it, isn’t it? I see it more as learning a new way to enjoy something you very much enjoy already.
That’s an elaborate description of your four White Mages playthrough. Good for archival purposes as well as a read for anyone who’s interested.
Congrats on finishing, though!